Generate and display an image as a header file with drivers
The procedure to generate and display an image with a header file relies on the external utility EPD Image Converter to convert an image file PNG, BMP or JPEG to a C-array. Then the C-array is displayed on the screen directly with the drivers.
To print text on top of the image, consider the technical note Generate and display an image as a header file with PDLS Basic.
The other editions of PDLS provides the dedicated application libraries File and Serial to manage image files natively. For more information, refer to PDLS Editions.
Configure
The EPD Image Converter requires Java 17 or later.
Use with black-white-red-yellow screens
The black-white-red-yellow screens (film Q) use one single frame-buffer with 2 continuous bits for each pixel.
Initial image
The initial image should have the exact dimensions of the targeted screen, 264 by 176 for the 266-QS-0F in this example.
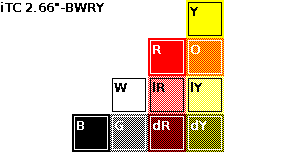
Initial black-white-red-yellow image
Image converter
Launch the EPD Image Converter utility.
Select the file PNG, BMP or JPEG.
Check the size of the screen, select the film BWRY, ensure the orientation fits the screen, press Convert to proceed and finally Save as header file.
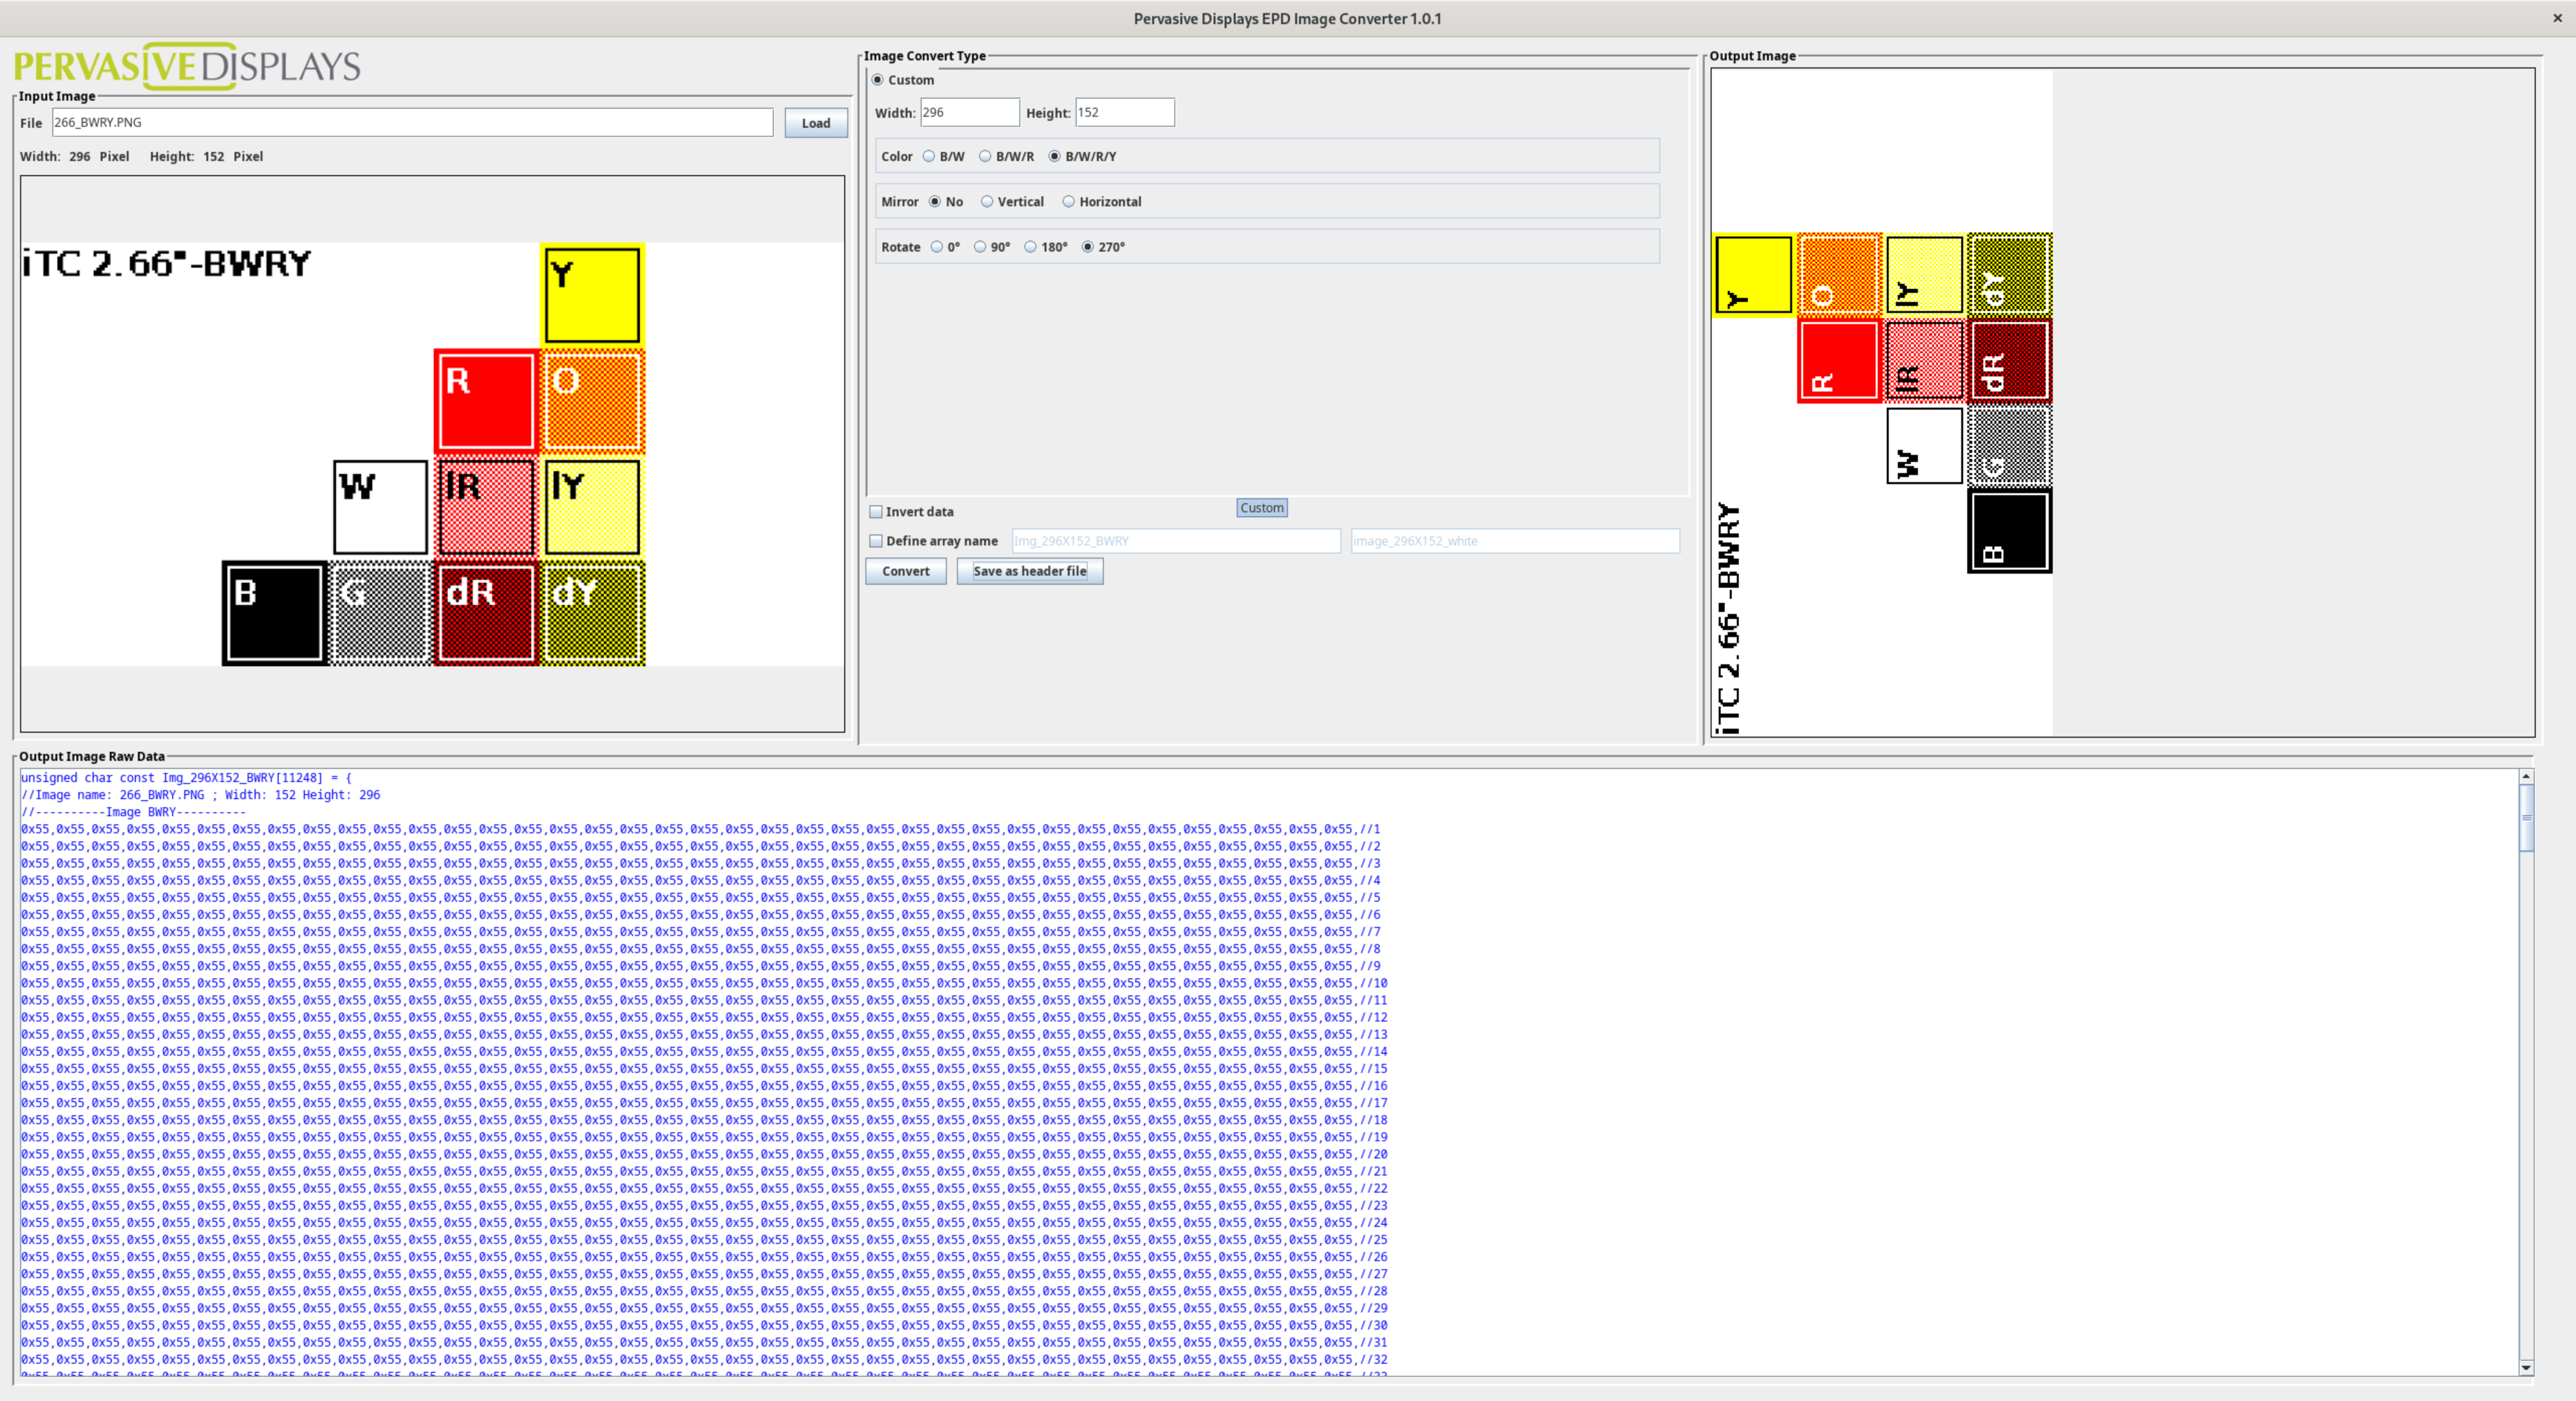
Check the generated file.
unsigned char const Img_296X152_BWRY[]= { ... }
Refer to the EPD Image Converter User Guide for the additional options.
Main project
Edit the Demo_NEW.ino example of the driver for the targeted screen, here from the driver Pervasive_BWRY_Small.
// Image data
#include "Img_296X152_BWRY.h"
The code includes the image as a C-array from the generated header file.
myDriver.updateNormal(Img_296X152_BWRY, frameSize_EPD_266);
The code sends the image from the C-array to the screen and performs a normal refresh.
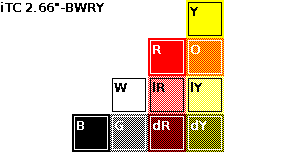
Retreived black-white-red-yellow image
Use with black and white screens
The black and white (film K) screens use on frame-buffer with two pages: one for the new image, another for the previous image or empty.
The EPD Image Converter utility generates two C-arrays. Both should be copied onto the frame-buffer.
Initial image
The initial image should have the exact dimensions of the targeted screen, 264 by 176 for the 266-KS-0C in this example.
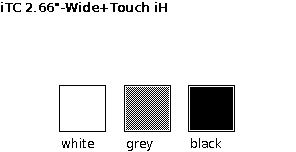
Initial black and white image
Image converter
Launch the EPD Image Converter utility.
Select the file PNG, BMP or JPEG.
Check the size of the screen, select the film BW, ensure the orientation fits the screen, press Convert to proceed and finally Save as header file.
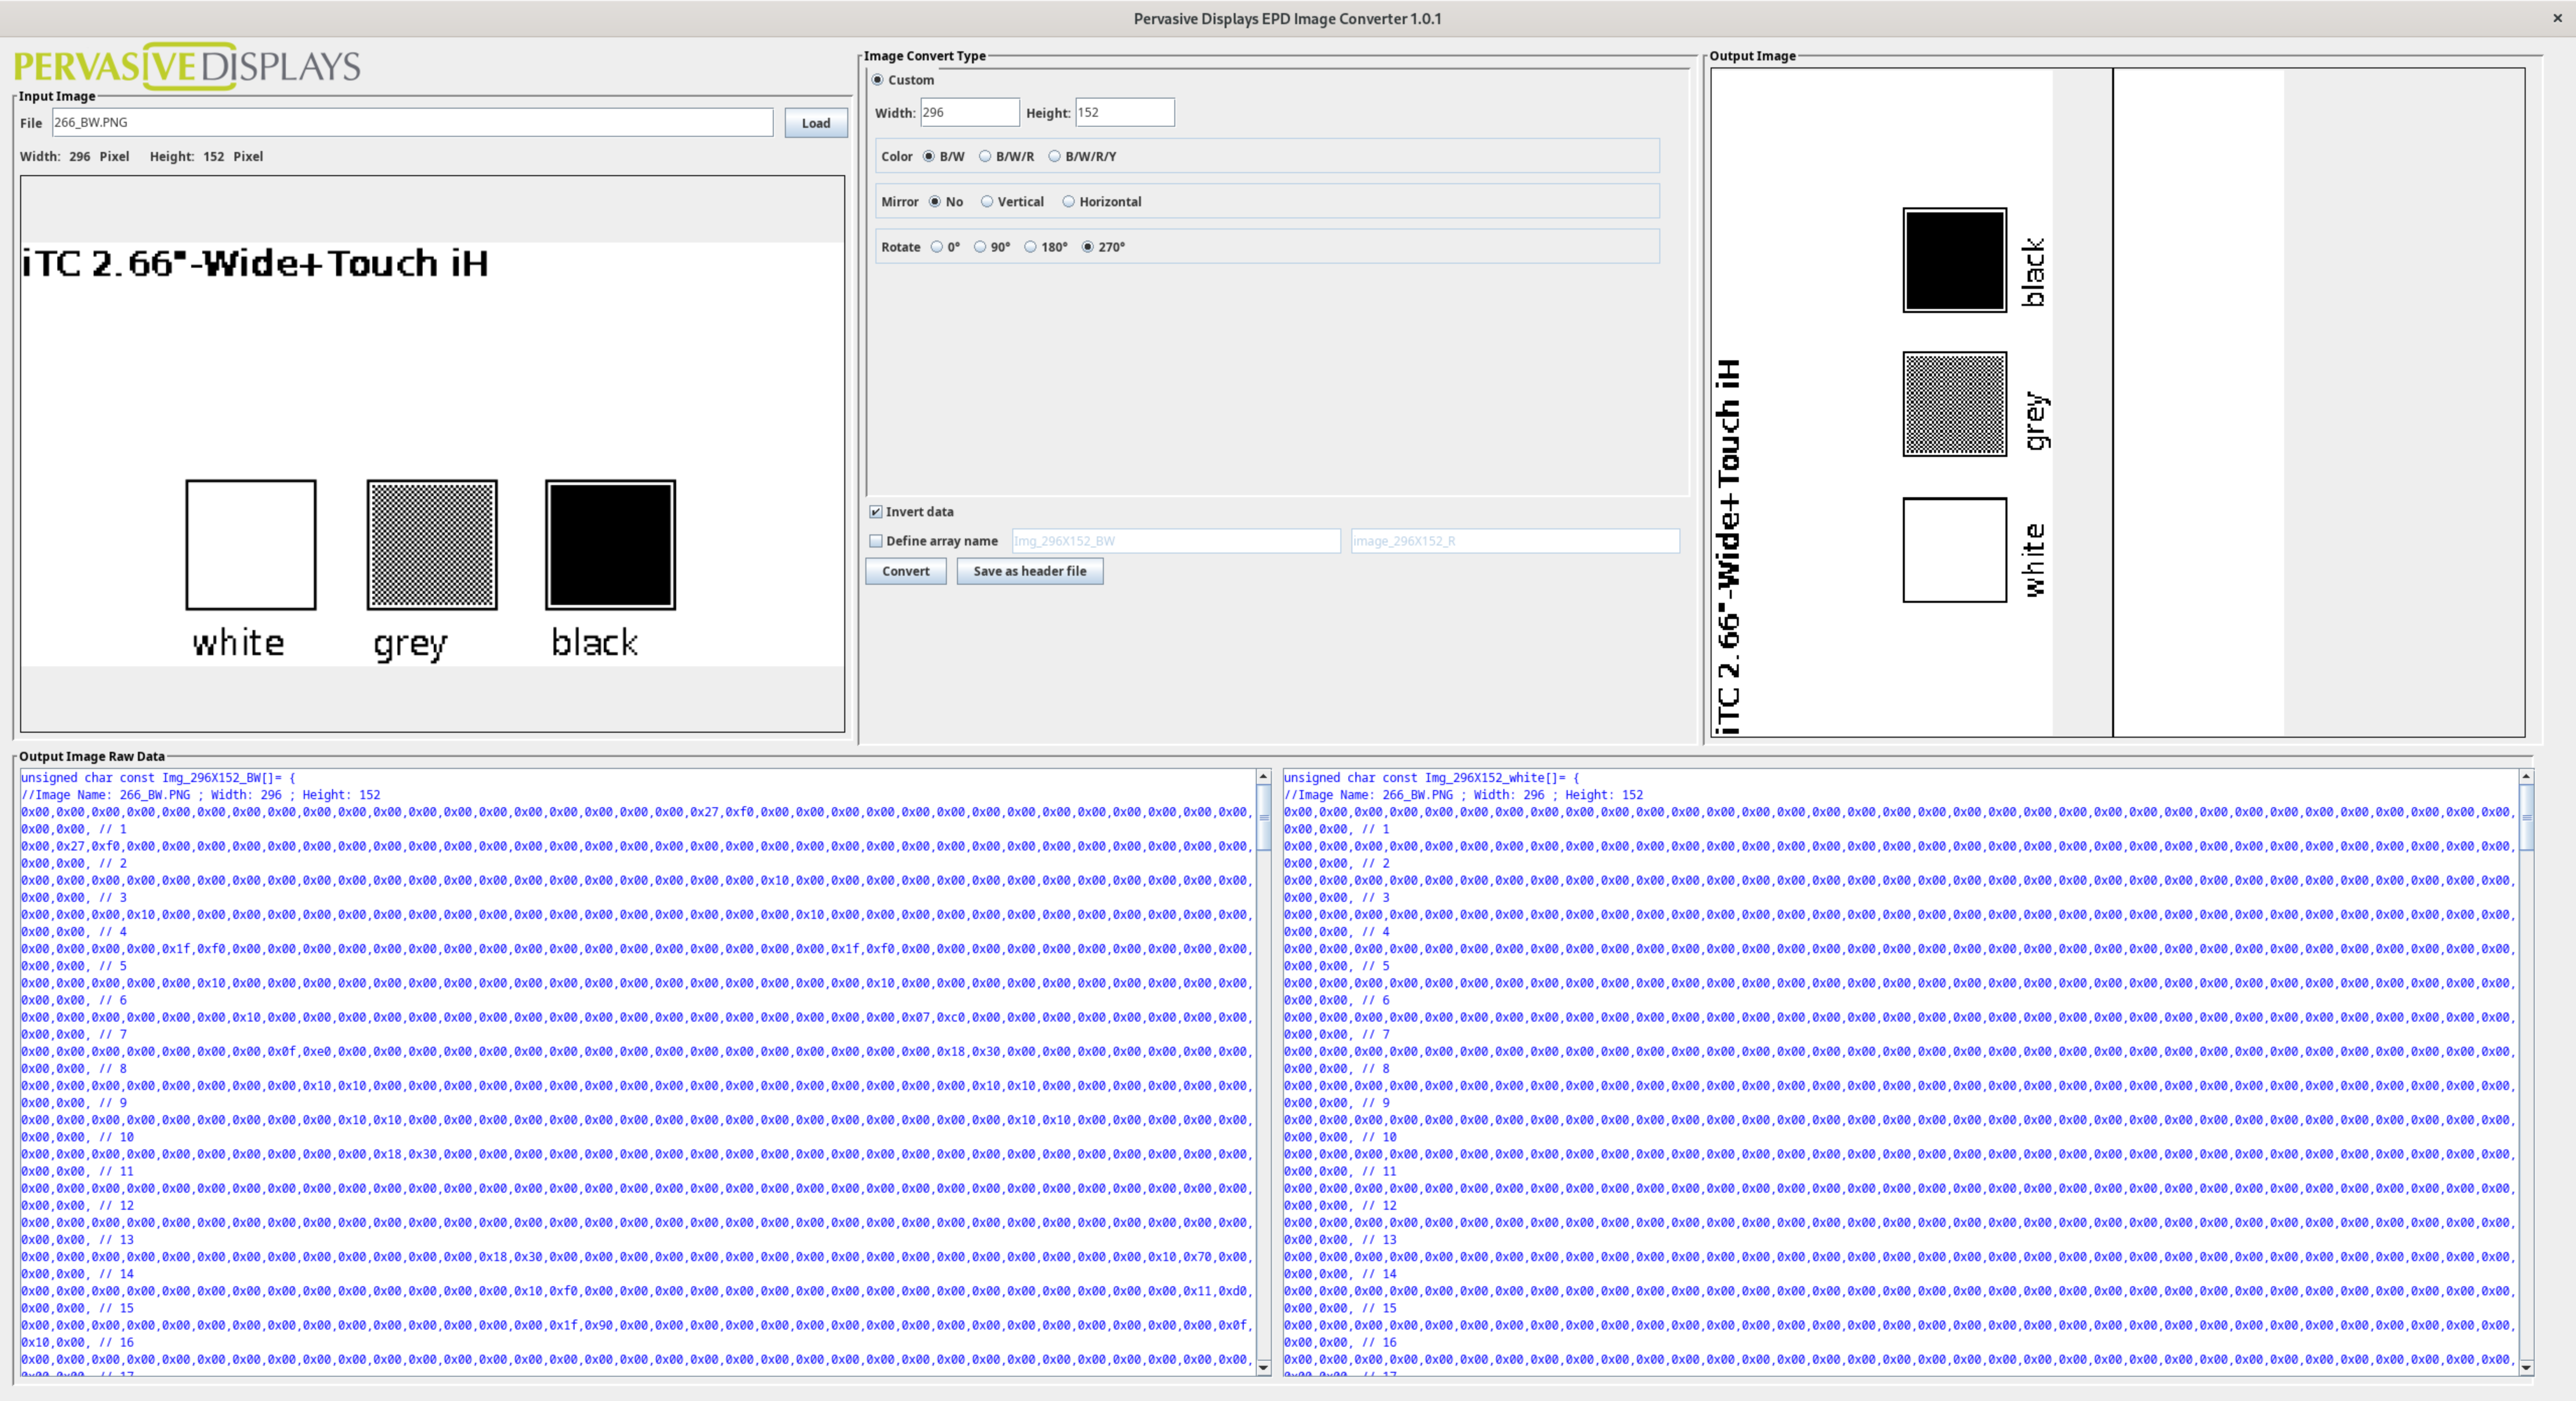
Check the generated file.
unsigned char const Img_296X152_BW[]= { ... }
unsigned char const Img_296X152_white[]= { ... }
Refer to the EPD Image Converter User Guide for more options.
Main project
Edit the Demo_NEW.ino example of the driver for the targeted screen, here from the driver Pervasive_Wide_Small.
// Image data
#include "Img_296X152_BW.h"
The code includes the image as a C-array from the generated header file.
uint32_t pageColourSize = (frameSize_EPD_266 >> 1);
myDriver.updateNormal(Img_296X152_BW, pageColourSize);
The code sends the image from the C-array to the screen and performs a normal refresh.
uint32_t pageColourSize = (frameSize_EPD_266 >> 1);
myDriver.updateFast(Img_296X152_BW, Img_296X152_white, pageColourSize);
The code sends the image from the two C-arrays to the screen and performs a fast refresh.
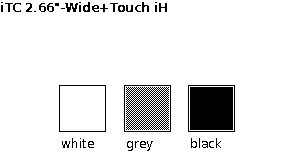
Retreived black and white image
Use with other screens
The procedure is similar to Use with black and white screens, except the black-white-red (film J) screens uses the pages of the frame-buffer for the colours: one for black, another for red.
Tip
For screens non listed here, for example monochrome screens (film C), monochrome screens with embedded fast update (film P) or colour black-white-red screens (film J), refer to the Legacy drivers and library.